
You need concrete woodworking projects you can actually build, whether you’re picking up a saw for the first time or ready to move beyond basic cuts. The eight projects in this guide move from simple beginner builds like picture frames and jewelry boxes to intermediate challenges like charging stations, each chosen to teach specific skills while creating something genuinely useful for your home.
The difference between a frustrating false start and a confidence-building win often comes down to picking the right first project. Too ambitious and you’ll abandon half-finished work in the garage. Too simple and you won’t develop the fundamental techniques that unlock better builds. That’s why this collection pairs accessible entry points with clear skill progression. You’ll find free downloadable plans for every experience level, along with the practical details newcomers actually need: what tools each project requires, which techniques you’ll practice, and honest guidance about safety considerations that experienced woodworkers sometimes forget to mention.
Each project serves a dual purpose. You’re building a charging station with slots for four devices, a drawer for batteries and cords, but you’re also learning precision layout, efficient lumber use, and how to resaw wood to custom thicknesses. The picture frame designed for two 8×10 photos and three 4×6 prints teaches you accurate measuring and clean joinery. Every cut, every assembly step adds to your working knowledge of how wood behaves and how your tools respond.
How We Chose These Woodworking Projects
We didn’t just grab random woodworking ideas and toss them in a list. Each project earned its spot by meeting specific criteria that serve you, the reader trying to build real skills. First, we prioritized skill-level diversity, starting with true beginner builds like the picture frame and progressing to intermediate challenges like the charging station. That progression matters because jumping straight to complex projects leads to frustration, while staying too simple leaves you bored.
Second, every project here serves a real purpose in your home. You won’t build decorative dust-catchers, you’ll create cutting boards for your kitchen, shelves for storage, and feeding stations your dog will use daily. Third, we chose projects with clear, accessible plans from trusted sources like Minwax, which offers free downloadable instructions. Finally, each build teaches fundamental techniques you’ll use repeatedly: the picture frame introduces measuring and joining, the jewelry box adds hinges and compartments, and the charging station requires precision layout and resawing. These aren’t practice pieces, they’re strategic stepping stones toward genuine woodworking competence.
1. Picture Frame, Display Your Memories in Style
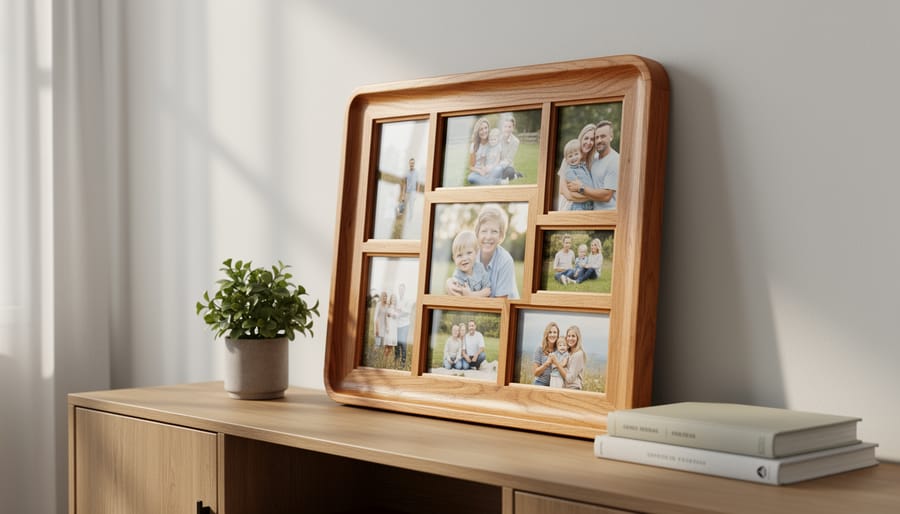
A picture frame makes the perfect first woodworking project because you’ll create something beautiful while learning three fundamental skills that form the foundation of all woodworking. This Minwax beginner-level design holds two 8″ x 10″ photos and three 4″ x 6″ photos, giving you multiple display options in a single build.
You’ll start by measuring and cutting four pieces of wood to create the frame borders. Measuring accurately matters here, but picture frames are forgiving, small gaps hide easily behind the photos, and slight imperfections won’t compromise the structure. This tolerance for minor mistakes builds confidence quickly.
The joining process teaches you how to connect wood pieces at corners. You’ll likely use basic miter joints or simple butt joints secured with glue and small nails. These fundamental connections appear in countless projects, from shelves to furniture, so you’re learning a skill you’ll use repeatedly.
The familiar object aspect can’t be overstated. Everyone knows what a picture frame should look like, which helps you visualize the end result and stay motivated through each step. Unlike abstract practice pieces that end up in the scrap bin, your finished frame will display cherished memories on your wall the same day you complete it.
This project also introduces you to handling photos safely while creating openings that accommodate them perfectly. The immediate satisfaction of seeing your work transform from raw lumber into a functional display piece that enhances your home makes this an ideal starting point for building both skills and enthusiasm.
2. Jewelry Box, Organize with Elegance
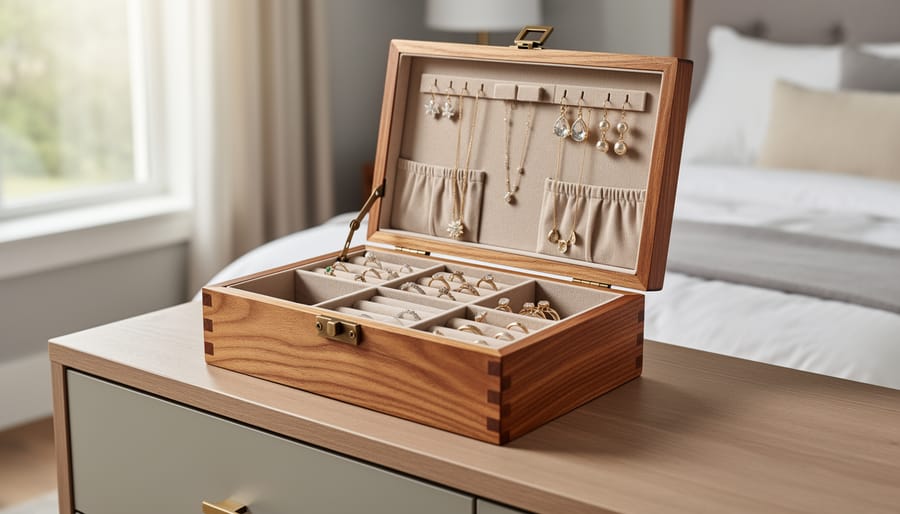
A jewelry box takes everything you learned from the picture frame and pushes you one step further. This beginner-level Minwax project introduces you to interior organization, hardware installation, and advanced finishing, all while creating something genuinely useful for your dresser or vanity.
What makes this project special is the compartmentalization. You’ll learn to measure and cut dividers that actually fit inside your box, creating separate spaces for rings, earrings, bracelets, and necklaces. This teaches precision in a way that flat projects can’t. Your measurements matter more because everything has to work together as a system, not just look good on the wall.
Adding hinges introduces you to hardware installation, which feels intimidating until you’ve done it once. You’ll mark hinge positions, create mortises so the hinges sit flush, and ensure your lid opens and closes smoothly. This single skill applies to dozens of future projects, from cabinet doors to hope chests.
The finishing process becomes more involved too. You’ll sand inside corners and tight spaces, apply finish to both interior and exterior surfaces, and think about how different areas will be used. The felt lining many builders add teaches you to integrate non-wood materials for a professional look.
The best part? You can customize every dimension. Need deeper compartments for chunky bracelets? Build them. Want a smaller footprint for a nightstand? Adjust the measurements. This project rewards you with a beautiful storage solution while teaching the precision that separates okay woodworking from great woodworking.
3. Simple Dolly, Build Something That Works Hard
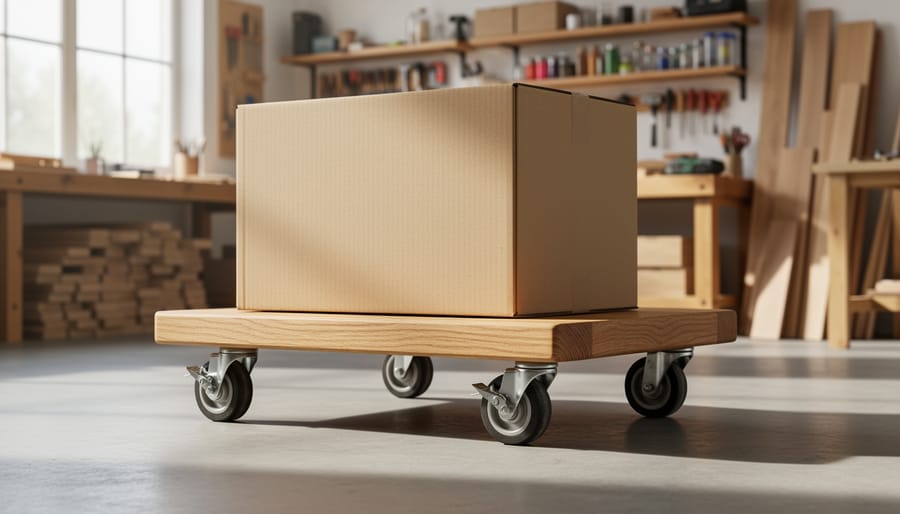
A dolly might not sound glamorous, but it’s one of those workshop projects you’ll use constantly once you have it. This simple platform on wheels becomes indispensable for sliding heavy toolboxes across the garage floor, moving potted plants around the patio, or maneuvering stacks of lumber without throwing out your back.
Minwax lists the dolly as a beginner-level project, and for good reason. The construction is straightforward, you’re essentially building a sturdy rectangular platform and attaching casters, but the engineering lessons you’ll absorb are foundational. This project forces you to think about weight distribution and how forces travel through joined pieces of wood. You’ll learn why diagonal bracing matters and how proper spacing between support members prevents sagging under load.
Installing the wheels introduces you to hardware mounting, which might seem trivial until you realize how many future projects require secure attachment points. You’ll practice drilling pilot holes to prevent splitting, understand thread engagement depth, and discover why washer placement matters for long-term durability. These skills translate directly to everything from hanging cabinet doors to mounting drawer slides.
The beauty of a dolly is its forgiving nature. Slight imperfections in cutting or assembly won’t stop it from working perfectly, making this an ideal confidence builder. You’ll create something genuinely useful while practicing techniques that matter for more ambitious builds ahead. Once you’ve rolled a fifty-pound box across your workshop floor with minimal effort, you’ll appreciate why functional projects teach as much as decorative ones.
4. Cutting Board, Create a Kitchen Essential
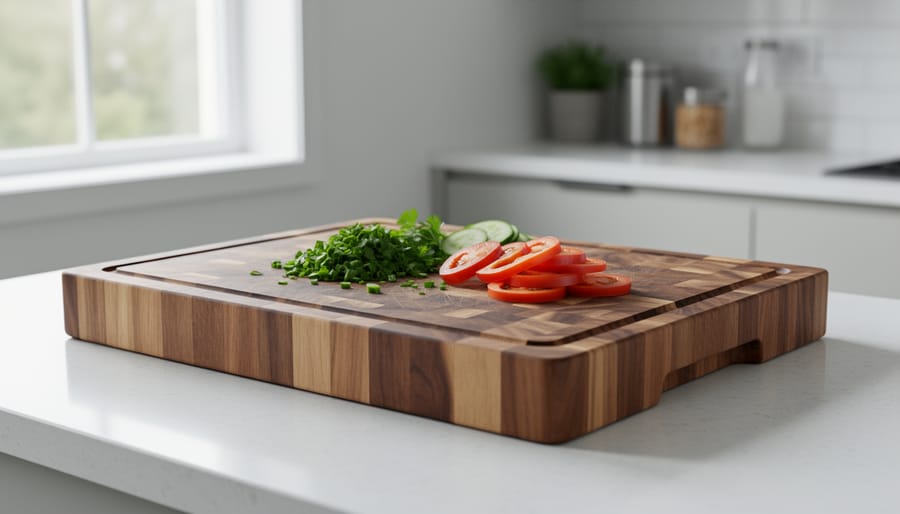
A cutting board stands as one of woodworking’s most rewarding starter projects. You’ll create something you use daily while learning fundamental skills that apply to countless future builds.
This project introduces you to material selection in ways that matter. Not every wood is safe for food contact, you’ll learn why maple, walnut, cherry, and oak work well while others don’t. You’ll discover how grain orientation affects both appearance and durability, understanding that edge-grain boards offer different benefits than end-grain designs. These aren’t abstract concepts; they’re practical knowledge you’ll apply every time you choose lumber.
The construction process teaches essential gluing techniques. You’ll practice creating tight joints, applying even pressure with clamps, and allowing proper drying time. Many beginners rush this step, but a cutting board won’t forgive weak glue bonds. You’ll also sand through progressively finer grits, feeling the wood transform from rough-cut to silky smooth under your hands.
Finishing requires food-safe mineral oil or beeswax blends, teaching you that different projects demand different finishes. This awareness will serve you well as you tackle more complex builds.
The best part? Cutting boards make exceptional gifts. Everyone needs one, and a handmade board carries meaning that store-bought versions can’t match. You’ll finish your first board and immediately start planning the next, experimenting with different wood combinations and patterns. That’s when you’ll know woodworking has hooked you, when one completed project sparks ideas for three more.
5. Simple Shelves, Add Function and Style to Any Room
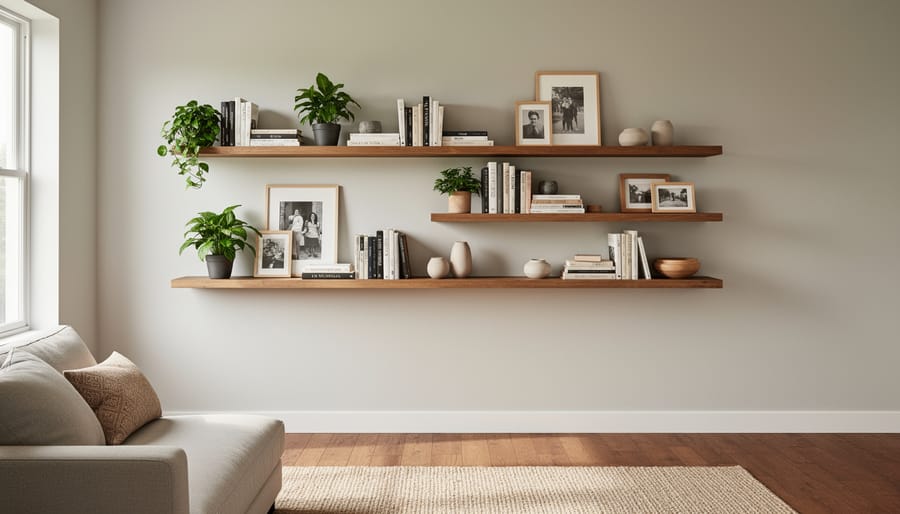
Simple shelves might be the most versatile project you’ll ever build. Once you understand the basic principles, you can create custom storage and display solutions for literally every room in your home. This project teaches essential skills like measuring accurately, cutting straight lines, and finishing surfaces while producing something you’ll use daily.
The beauty of shelf-building lies in its flexibility. You can customize dimensions to fit any awkward space, that narrow wall between windows, the dead zone above a desk, or a bathroom that desperately needs towel storage. Start by measuring your space carefully and deciding what you’ll display. Books need deeper shelves (10-12 inches) than picture frames or plants (6-8 inches), and longer spans require thicker wood to prevent sagging.
You’ll encounter three main mounting approaches. Bracket-supported shelves are the most beginner-friendly, simply attach L-brackets to wall studs and rest your shelf on top. Floating shelves create a cleaner look by hiding the support hardware inside the shelf itself, though they require more precise installation. Built-in shelves between walls or inside alcoves offer maximum stability and a custom-furniture appearance.
Level installation makes the difference between professional results and disappointing ones. Always use a spirit level when marking bracket positions, and remember that older homes rarely have perfectly level floors or ceilings. Measure from your marks, not from the floor line.
This foundational skill transfers directly to building bookcases, entertainment centers, and closet organizers. Master a simple shelf today, and you’ve unlocked countless future projects.
6. Dog Feeding Station, Pamper Your Pet
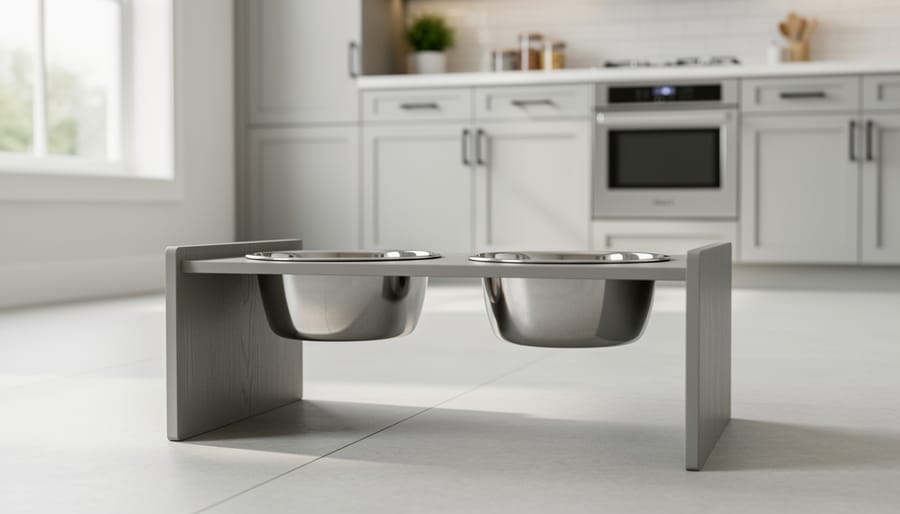
A dog feeding station puts your carpentry skills to practical use while creating something your pet uses every day. This raised platform design solves a common problem: bowls that slide across the floor during mealtime and water that gets kicked over. More importantly, it introduces you to designing for real-world function and maintenance.
The basic construction involves building a stable platform at a height appropriate for your dog’s size, then cutting circular openings to hold both food and water bowls. The clever part is the removable wood top that sits over the platform, this allows you to lift out the entire surface for cleaning without disassembling the frame. You’ll learn to measure and cut precise circles (using a jigsaw or hole saw), create a structure that stays level on uneven floors, and think through how someone will actually use what you’ve built.
This project teaches you to build with purpose. Unlike decorative items, a feeding station needs to withstand daily use, resist moisture from water spills, and remain stable when your dog pushes against it. You’ll discover how to use adhesive correctly alongside mechanical fasteners for water-resistant joints, and you’ll gain experience selecting appropriate finishes that can handle food-safe requirements and occasional cleaning.
The customization possibilities make this project especially satisfying. Adjust the height based on your dog’s size, add storage underneath for food bags, or build in a mat holder to catch spills. You’re not just following a plan, you’re solving a real problem in your home while practicing techniques you’ll use in every future woodworking project.
7. Charging Station, Tame Your Tech Clutter

The charging station marks a significant step up in complexity, this is where you transition from building individual pieces to creating something that requires thoughtful planning and precision execution. Minwax classifies this as an intermediate-level project, and it earns that designation through the techniques involved rather than sheer difficulty. You’ll create slots for four devices, plus a drawer and tray designed specifically for spare batteries, earbuds, and tangled cords that currently live on your kitchen counter.
What makes this project the perfect bridge from beginner to intermediate work? It demands efficient lumber use and introduces resawing wood to nonstandard thicknesses, skills you haven’t needed for picture frames or cutting boards. The precision layout becomes critical here because each device slot needs consistent width and proper spacing to actually hold phones and tablets securely. Unlike the forgiving nature of a shelf that’s slightly off-square, a charging station with misaligned slots simply won’t function.
This project teaches several essential intermediate techniques:
- Resawing lumber to create thinner stock for dividers and drawer components
- Precision layout and measurement for consistent slot widths across multiple devices
- Drawer construction including slides or simple runners
- Cable management design with routing holes and channels
- Finishing techniques safe for electronics that won’t trap heat
The drawer construction alone represents new territory for most beginners, you’ll learn how components fit together to create smooth movement while maintaining structural integrity. Planning cable routing introduces problem-solving: how do charging cords reach each slot without creating a tangled mess? You’ll cut strategic openings in the back panel and possibly drill holes through dividers, all while keeping the finished piece looking clean.
Expect this build to take longer than your previous projects. The neat gluing and nailing that Minwax emphasizes isn’t just aesthetic preference, visible mistakes stand out more in a finished piece that sits prominently on a desk or entryway table. Take your time with the layout phase, double-check measurements before cutting, and remember that the precision you develop here becomes second nature for furniture projects ahead.
8. Small Side Table, Furniture You’ll Use Every Day
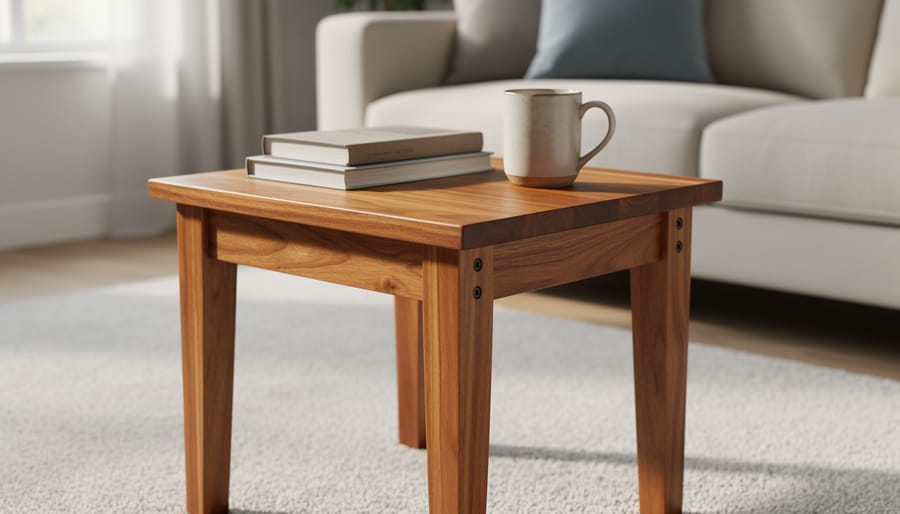
Building a small side table represents the culmination of everything you’ve learned through earlier projects. This piece of functional furniture demonstrates true woodworking capability because it requires careful planning, precise joinery, and an understanding of how proportions and structural stability work together.
You’ll need to choose a joinery method that matches your tool collection and confidence level. Pocket screws offer the quickest path to a sturdy table, while dowel joints provide a cleaner look with moderate difficulty. If you’re ready to challenge yourself, mortise and tenon joints deliver superior strength and the satisfaction of traditional craftsmanship. Each approach teaches different aspects of how wood pieces connect and bear weight.
Designing for stability means thinking beyond aesthetics. Your tabletop needs adequate support underneath, and the leg-to-apron connections must handle lateral stress when the table gets bumped or moved. Proportions matter too, a top that’s too small on a wide base looks awkward, while spindly legs under a heavy surface feel precarious. This project forces you to balance visual appeal with structural engineering principles.
You can start with basic tools you already own, though a corner clamps guide becomes invaluable when assembling the frame to ensure perfect 90-degree angles. The beauty of this capstone project lies in creating something you’ll use daily, a bedside table, plant stand, or reading nook companion that proves you’ve graduated from simple projects to genuine furniture making.
Getting Started: Essential Tips for Your First Project
Starting your first woodworking project can feel intimidating, but success comes down to smart preparation and realistic expectations. Begin with a beginner-level project like the picture frame or cutting board, regardless of your confidence, these builds teach fundamental skills without overwhelming you with complexity.
Before making your first cut, gather all your materials and tools in one place. Running to the hardware store mid-project disrupts your workflow and momentum. Just as you’d choose the right supplies for any craft project, selecting appropriate wood species, fasteners, and finishes upfront prevents frustrating delays. Take advantage of free downloadable plans from trusted sources like Minwax, which provide detailed instructions and cutting lists that remove the guesswork.
Expect mistakes. You’ll make cuts that aren’t perfectly straight, drill holes slightly off-center, or apply too much glue. These aren’t failures but learning opportunities that make you a better woodworker. Professional craftspeople still make mistakes; they’ve just learned how to fix them creatively.
Consider joining the woodworking community through online forums or local workshops. Experienced woodworkers generously share advice, troubleshoot problems, and celebrate your successes. Having someone to ask when you’re stuck makes the learning curve less steep.
Common Questions About Woodworking Projects
What’s the best first woodworking project?
A picture frame or cutting board makes an ideal starter project because both are forgiving of small mistakes while teaching fundamental skills like measuring, cutting, and finishing. You’ll complete either in a reasonable timeframe and end up with something genuinely useful, which builds confidence for your next build.
Do I need expensive tools to start woodworking?
No, begin with basic hand tools and add power tools as your skills and project ambitions grow. Many beginner projects require just a saw, drill, square, and sandpaper, with most costing far less than buying finished versions of what you’ll build.
Where can I find free woodworking project plans?
Minwax offers free downloadable plans for projects at all skill levels, from simple frames to intermediate builds like charging stations. These plans include cut lists and step-by-step instructions that remove the guesswork from your first attempts.
How long does a beginner woodworking project take?
Expect your first projects to take longer than advertised as you learn techniques and work through mistakes, that’s completely normal. A simple picture frame might take an afternoon once you’re comfortable, but your first attempt could span a weekend as you figure out each step.
The learning curve feels steepest on your first project, but each build gets faster and smoother. Don’t rush through early projects trying to match experienced woodworkers’ timelines. The goal isn’t speed, it’s developing muscle memory for accurate cuts, understanding how wood behaves, and building the patience that separates decent work from quality craftsmanship.
The projects we’ve covered take you from your first simple cuts to building real furniture, each one teaching skills you’ll use for a lifetime. Whether you’re drawn to the quick satisfaction of a picture frame or ready to tackle the precision of a charging station, there’s a project here that matches where you are right now.
The truth is, every experienced woodworker started exactly where you are now: looking at a pile of lumber and wondering if they could really build something. They could, and you can too. Each project you complete doesn’t just give you a finished piece, it gives you confidence, muscle memory, and a deeper understanding of how wood behaves.
Pick one project from the list. Download the free plans. Gather your materials and tools. Then start cutting. The first cut is always the hardest, but it’s also the one that transforms you from someone who thinks about woodworking into someone who actually does it.