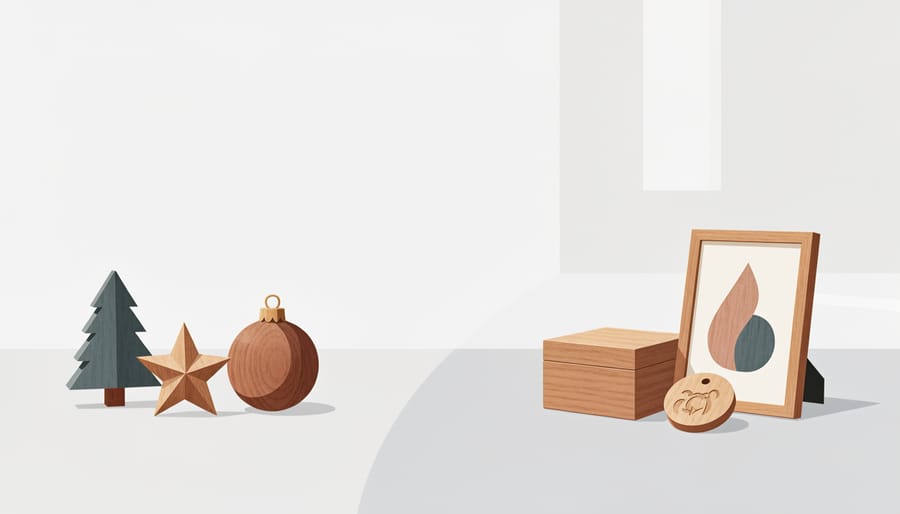
The best Christmas woodworking projects are the ones you can finish in a weekend with a few basic tools: a rustic wooden tree, a cutting-board gift set, a candle holder, or a simple ornament batch. Most take two to six hours, need only a saw, sandpaper, and wood glue, and look far more impressive than the effort suggests. That’s the sweet spot for the season.
Here’s why simple builds work so well. Pine and poplar are cheap, forgiving, and take stain beautifully, so a small mistake rarely ruins the piece. Straight cuts and clean sanding do most of the heavy lifting. Add a thoughtful finish, and a handmade gift lands with a warmth store-bought ones can’t match.
In this guide, you’ll find projects sorted by skill level so you can pick one that fits your experience and your schedule. We’ll cover the tools and materials you need, the safety habits worth building before you cut anything, and a full step-by-step build with checks along the way to confirm your work is square, smooth, and ready to give. Grab a cup of something warm and let’s get you building.
Picking the Right Christmas Woodworking Project for Your Skill Level
Beginner-Friendly Builds You Can Finish in an Afternoon
Scrap-wood ornaments are the easiest place to begin. You only need small offcuts, a hand saw or even a craft knife for softer wood, and some sandpaper. A star, a gingerbread-man shape, or a simple round slice with a drilled hole for twine takes maybe thirty minutes. Mistakes cost you almost nothing, which is what makes them such a relaxed first project.
Stacked wooden trees come next. You cut a few boards or dowels into graduated lengths, sand them, and glue them in a tapering pile. There’s no joinery to worry about, and the pattern teaches you to measure and cut repeatedly. If one piece comes out a hair short, nobody will notice once it’s glued up and decorated.
Painted holiday signs are perfect if cutting makes you nervous. Grab a pre-cut pine board or trim a single piece to size, sand it smooth, then paint a greeting with stencils or a steady hand. You’ll practice sanding and finishing, which are the skills that make every future build look polished.
Pick whichever idea matches your supplies on hand. All three are forgiving, inexpensive, and ready to hang or gift the same day.
Weekend Projects for Crafters Ready for a Little More Challenge
Once you’ve got a simple project or two under your belt, a weekend build is a satisfying next step. These projects take more time, mostly because there are more pieces to cut, fit, and finish, but none of them need fancy equipment.
A numbered Advent calendar box is a great place to start. You’ll build a small shelf-style frame with 24 little compartments or drawers. The extra steps here are measuring carefully so every opening is the same size, cutting a handful of identical pieces, and sanding inside the tight corners. A drawer or door for each day means the fit matters more than it does on a flat tree, so take your time dry-fitting before you reach for the glue. Number the fronts with stencils, a wood-burning pen, or painted adhesive numbers once the finish has fully cured.
A tabletop nativity scene asks for a bit more patience. Think of a simple stable with a pitched roof and separate figures cut from thicker stock. You’ll make angled cuts for the roof, then shape and sand the figures so they stand steadily on their own. A scroll saw or coping saw helps with curves, though simple rounded or geometric figures work well if you’d rather keep things easy.
Expert tip: Plan your finishing before you start assembling. Painting or staining small parts is far easier while they’re still separate, and you’ll avoid blotchy glue marks on the finished surface.
Give yourself a full weekend, and spread the work across both days so glue and finish have time to dry.
Tools and Materials You’ll Need Before You Start
Walking the lumber aisle is half the fun, but a little care here saves a lot of frustration later. Look for boards that are straight and mostly free of knots, since knots can split when you cut or drill. If you’re still sorting out what to grab, our scrap wood picks and these beginner supplies make handy starting points.
Extra boards also let you test your stain or paint on a scrap before touching the real thing.
Safety First: Workshop Warnings and When to Stop
Let’s keep this part quick and practical, because a few good habits will keep every build fun.
Start with your eyes and ears. Wood chips and sawdust fly in unexpected directions, so wear safety glasses any time you cut, drill, or sand. If you want to know what makes a good pair, this Eye and face protection overview explains the basics. Power tools are loud too, so earplugs or muffs are worth grabbing. When you sand, add a dust mask so you’re not breathing in fine particles.
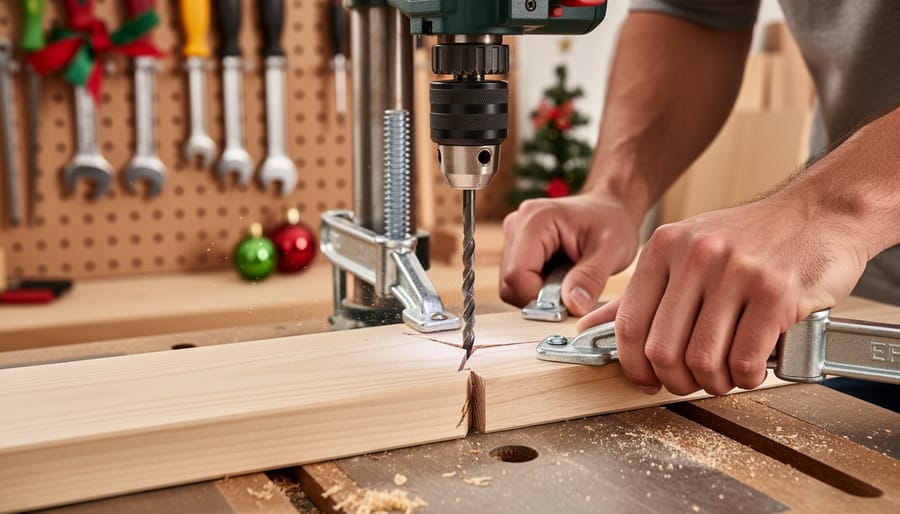
Secure clamping is your best friend. A piece that can’t wiggle is a piece you can cut cleanly, with both hands safely away from the blade. Stains, sealers, and paint can be strong smelling, so open a window or work outdoors when you can.
Little helpers and pets are part of the holiday fun, but tools aren’t. Keep them out of the workspace while blades are out, and put everything away when you step off.
Know when to stop, too. Quit if your blade is dull (it forces you to push harder), if the wood keeps splitting, or if you’re tired and rushing. A break is always cheaper than a mistake.
Step-by-Step: Building a Rustic Wooden Christmas Tree
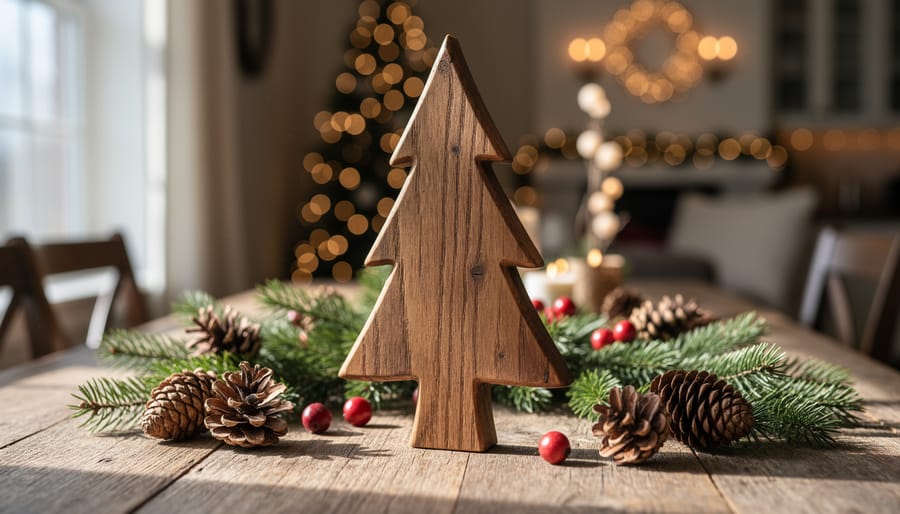
Measuring, Cutting, and Sanding Your Pieces
Start by laying out your tree’s graduated lengths. For a tabletop tree, mark your boards at steady steps, say 10, 8, 6, 4, and 2 inches, so each layer shrinks toward the top. Use a pencil and a square, not your eye, because crooked lines lead to crooked branches. Double-check each mark before you cut. Measure twice, cut once really is the golden rule here.
Next, clamp your board firmly to the workbench and saw just outside the pencil line. Use long, steady strokes and let the saw do the work. A clean cut beats a fast one, and you can always trim a hair off later. If a cut wanders, don’t panic. Sanding will forgive small flaws, and rustic charm is the whole point of many holiday decor ideas.
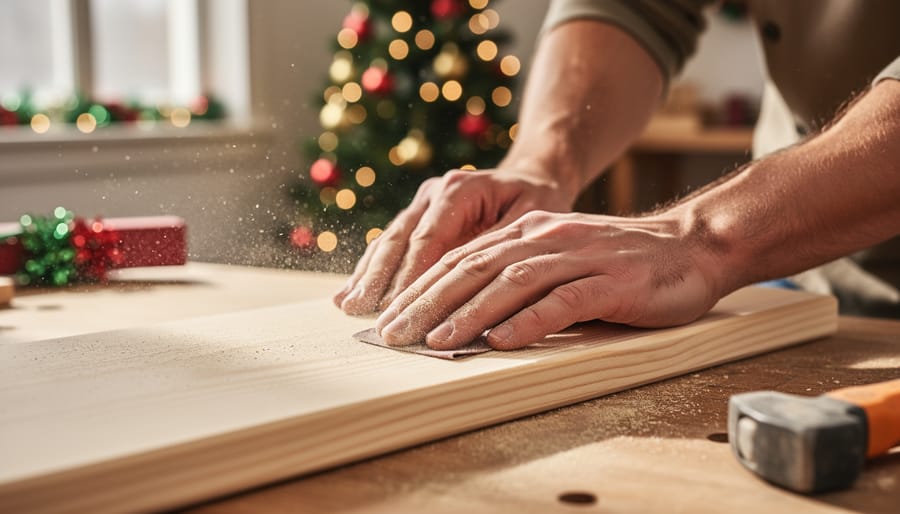
Now sand, working from coarse to fine grit. Grit is just the roughness of the sandpaper, and a lower number means rougher. Start with 80 or 120 grit to knock down saw marks, then move to 220 for a silky finish. Sand with the grain, not across it, and ease the corners so they feel soft in your hands.
Expert tip: wipe the dust off between grits with a slightly damp cloth, so loose particles don’t scratch your smooth surface.
Assembling, Finishing, and Decorating Your Tree
Once your pieces are sanded smooth, dry-fit the tree on your work surface before you reach for the glue. Stack the boards from longest to shortest and make sure the edges line up. If anything looks off, now is the time to fix it.
Spread a thin, even layer of wood glue on each joining surface and press the pieces together. Wipe away squeeze-out right away with a damp rag, because dried glue blocks stain and leaves pale patches. Clamp the assembly gently, just enough to close the seams without crushing the wood. Most wood glues set in about 30 minutes, but I like to leave the tree clamped for a couple of hours and let it cure overnight before finishing.
Next, pick your finish. Stain highlights the grain and gives a warm, classic look. Paint is great for bold red, white, or green. A whitewash, made by thinning white paint with water, keeps that rustic, snowy feel. Apply thin coats and let each one dry fully.
Then add the fun details. Wrap twine around the trunk, tuck in a string of tiny battery-powered lights, or glue a small wooden star to the top.
Expert tip: Test your finish on a scrap piece first so there are no surprises.
Once you’ve built the basic tree, the fun really starts. Swap the board widths to change the whole look: wider boards give you a chunky, farmhouse feel, while thin strips make a delicate, modern tree. Try mixing wood tones too. Pairing light pine with a darker walnut stain on alternating boards adds depth without any extra skill.
Personalizing is where handmade pieces turn into keepsakes. Burn or paint a family name along the base, add the year on the back, or stamp each branch with a small initial. Always test your stain or paint on a scrap piece first so you aren’t surprised by the color.
Don’t be afraid to experiment on your second build. Small changes add up fast.
Checking Your Work and Where to Go Next
You’ve done the hard part, so take a few minutes to check your work before you display it or wrap it up as a gift. A quick once-over now saves you from a wobbly tree on Christmas morning.
Run through this checklist:
- Set the piece on a flat surface and make sure it stands level and doesn’t rock.
- Run your fingertips along every edge and surface to find rough spots or splinters.
- Confirm the stain, paint, or sealer is fully dry and no longer tacky.
- Give each glued joint and any screws or hooks a gentle tug to be sure they’re secure.
- Check that nothing is sharp, loose, or likely to tip over once it’s displayed.
If something isn’t right, don’t panic, because most problems are easy to fix. A wobbly base usually means one cut is slightly uneven, so sand the high spot a little at a time or glue a thin felt pad under the short corner. Blotchy stain is common on pine; lightly sand the area, then wipe on a thin second coat, and next time try a wood conditioner first.
Once your piece passes inspection, think about where to go from here. Try a second project to practice what you learned, or batch-make a few as gifts, since the same cuts repeat easily. You can also personalize them with names, dates, or a favorite finish to make each one feel truly yours.
Common Questions About Christmas Woodworking Projects
What wood is best for beginners?
Pine is the easiest place to start. It’s soft, affordable, cuts cleanly with hand tools, and takes paint and stain well. Craft-store basswood is another gentle option for small ornaments.
Do I need power tools?
Not at all. A handsaw, sandpaper, wood glue, and a few clamps will get you through most beginner builds, including the rustic tree. Power tools just speed things up once you’re comfortable.
How early should I start if I’m making gifts?
Give yourself a few weeks. Glue needs time to cure and finishes need to dry fully before wrapping, so starting early keeps you from rushing the finishing steps.
Is paint or stain better for ornaments?
It comes down to the look you want. Stain lets the grain show through for a rustic feel, while paint gives you bold color and crisp details. Seal either one so it holds up year after year.
How should I store wooden decorations after the season?
Wrap each piece in tissue or soft cloth and keep them in a dry, climate-stable spot, not a damp basement or hot attic. Make sure the finish is fully cured first so pieces don’t stick together.
Handmade wooden decorations tend to become the pieces families look for every December, so it’s worth treating them with the same care you’d give other memory keepsakes. A little tissue paper and a labelled box go a long way toward keeping them in good shape for years to come.
There’s something special about a handmade wooden decoration. Long after the holidays end, that slightly crooked tree or hand-painted ornament becomes a keepsake, one that carries the memory of the afternoon you made it. You don’t need a fancy workshop or years of experience to begin. Pick one simple project from this guide, gather your basic tools, and give yourself permission to enjoy the process rather than chase perfection. Each build teaches you something new for the next one. When you’re ready for your next idea, our other DIY Crafts Tutorials and Tips are waiting. Happy making!