
You can make a Christmas doily from a free crochet pattern in an afternoon, and you only need cotton thread, a matching steel hook, and a pattern written for your skill level. Most holiday doilies are worked in the round, so if you can chain, slip stitch, and make a double crochet, you already have the foundation. Snowflakes and small stars take about an hour. Larger centerpiece doilies with ruffled edges might take a weekend.
The trick is picking a pattern that’s clearly written and finishing it with a good blocking, which turns a floppy little circle into crisp, frosty lace. We’ll walk through how to spot a trustworthy free pattern, what to gather before you start, and each step from the first ring to the final pin. If you’d like inspiration before you commit to a project, browse these more free doily patterns and bookmark a few favorites. Then grab your thread, and let’s make something your holiday table will actually show off.
Choosing the Right Free Christmas Doily Pattern for Your Skill Level
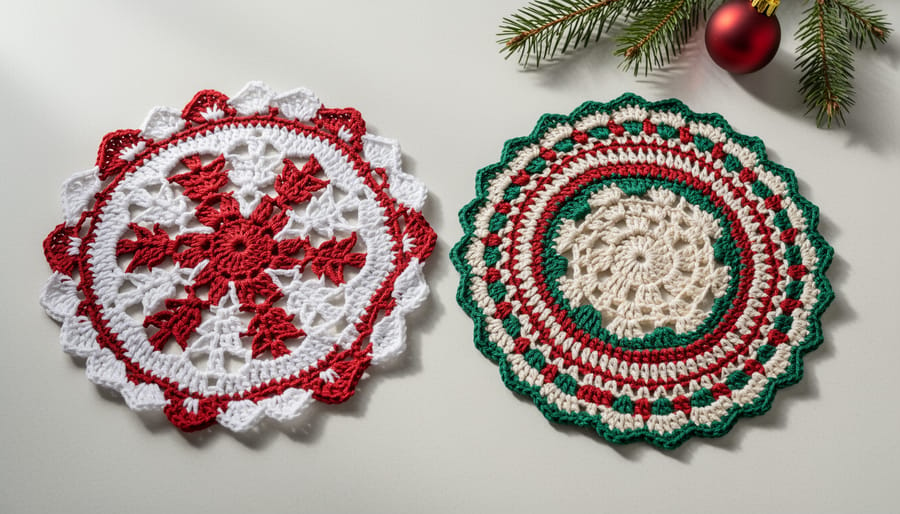
Beginner-Friendly Motifs to Start With
If you’re new to doilies, start small. A basic snowflake is the perfect first project. Most use just chains, single crochet, and double crochet, with a few simple picots (little decorative loops made from a short chain joined back to the stitch) for pretty, pointed tips. A star doily works the same way: a handful of rounds, a clear shape, and very little to memorize.
These little motifs finish in under an hour, so you get that wonderful “I made this!” feeling fast. Better still, they teach you the skills every bigger doily relies on. You’ll practice starting from a center ring, counting stitches at the end of each round, and keeping your tension even.
Mistakes are easy to spot and cheap to fix, too. If a round looks off, you can rip back and try again without losing an afternoon. Once a few of these feel comfortable, the larger lacy designs won’t seem nearly so intimidating.
Intricate Designs for Experienced Crocheters
Once you’re comfortable with the basics, Christmas doilies offer plenty of room to stretch your skills. Layered poinsettias, for example, are built from separate petal rounds worked in two or three colors, then stacked and joined at the center. They look dimensional and rich, but they reward patience with stitch counts.
Wreath doilies often rely on raised stitches like front post double crochet to create a textured, braided look. Your tension matters here, since uneven posts will show right away.
Then there’s multi-round lace, with clusters, shells, and long chain arches that build into a snowflake or star with real drama. These patterns usually come with charts, so learning to read stitch symbols is a worthwhile skill. Expect to rely on blocking, too. Fine lace can look limp until you pin it out carefully and let every point and picot settle into shape.
Tools and Materials You’ll Need for Christmas Doilies
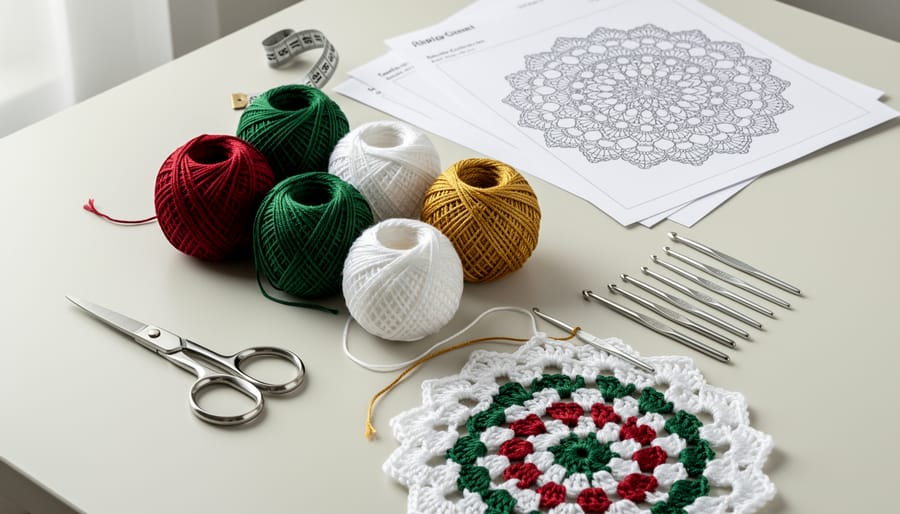
Thread, Yarn, and Hook Pairings
Thread weight and hook size work as a pair, and together they decide how your doily behaves. A fine thread worked with a small steel hook gives you tight, lacy stitches that hold their shape beautifully, which is why size 10 crochet cotton is such a favorite for snowflakes and stars. Thicker thread or yarn with a bigger hook creates a softer, looser fabric that drapes more and stiffens less.
Here’s the part that surprises many crocheters: changing either one changes the finished size. A pattern written for fine cotton might make a six-inch snowflake, but the same rounds in worsted yarn could balloon to a table-topper. The stitch count stays the same, but each stitch takes up more room. Swapping materials can also throw off how the motif lies, since lacy designs rely on a particular tension to stay flat.
If your swatch comes out larger than expected, drop down a hook size. If it’s too small or stiff, go up one. A few minutes of testing saves hours of unraveling later.
Safety Notes Before You Start Stitching and Starching
A few simple habits keep crochet time cozy and injury-free, so run through these before you pick up your hook.
Start with your hands. Crocheting fine thread means small, repetitive movements, so take a short break every 20 to 30 minutes and gently stretch your fingers and wrists. Work in good light too, ideally a lamp aimed over your shoulder, so you’re not squinting at tiny stitches and straining your eyes.
Steel hooks and blocking pins are sharper than they look. Store hooks in a case, push pins in with a steady hand, and count them before and after blocking so none get lost in the carpet or couch.
When it’s time to stiffen, work in a ventilated space with a protected surface, like a plastic sheet or an old tray, since fabric stiffener and starch can stain furniture and linger in the air. Wash your hands afterward, too.
Finally, little snowflake ornaments can be choking hazards, so keep them out of reach of young children and curious pets. A thoughtful setup means more fun and fewer surprises as you start stitching.
Step-by-Step: Crocheting a Christmas Doily from a Free Pattern
Starting Strong: The Center Ring and First Rounds
The center of a doily sets up everything that follows, so it’s worth slowing down here. Most patterns start with a magic ring, which is just a loop you crochet into and then pull tight so there’s no hole in the middle. If a ring feels fiddly, chain four and join with a slip stitch instead. Your doily will look nearly identical.
Once you’ve worked your first round, count your stitches before moving on. Patterns tell you the exact number, such as 12 double crochets, and that count is your safety check. Place a stitch marker in the first stitch of each round so you always know where you began.
If your count is off, rip back right away. A missing or extra stitch in round two becomes a ruffle or a cup by round six, and no amount of blocking will fully fix it. Check that the center lies flat on the table as you go.
Fixing Common Problems: Ruffling, Cupping, and Wobbly Edges
Even a carefully worked doily can misbehave. If yours ruffles like a ballerina’s skirt or cups like a little bowl, don’t panic. Both usually come down to stitch counts or tension, and both are fixable.
Ruffling means you have too many stitches for the space, so the fabric has nowhere to go but out. Cupping is the opposite: too few stitches, or tension so tight the round pulls inward. Start by recounting the stitches in your most recent round against the pattern. If the count is right, your tension is the likely culprit, and a hook one size up or down often settles it.
Here’s a quick problem-and-fix list:
- Ruffling: recount stitches, then try a smaller hook or relax your grip a touch.
- Cupping: check for skipped stitches, then try a larger hook or loosen your tension.
- Uneven edges: mark the start of each round and keep your picots and chain spaces a consistent size.
- Visible joins: work the slip stitch into the correct stitch and tug the yarn gently to even it out.
If you’ve checked all of that and the piece is still a little off, blocking is your best friend. Pin the doily out to its finished size and let the stiffener do the rest. Mild ruffles and cups often disappear once the piece is shaped and dry.
Blocking, Starching, and Checking Your Finished Doily
Once your last end is woven in, the doily needs a little finishing to look its best. Blocking is what turns a slightly crumpled piece of crochet into crisp, even lace.
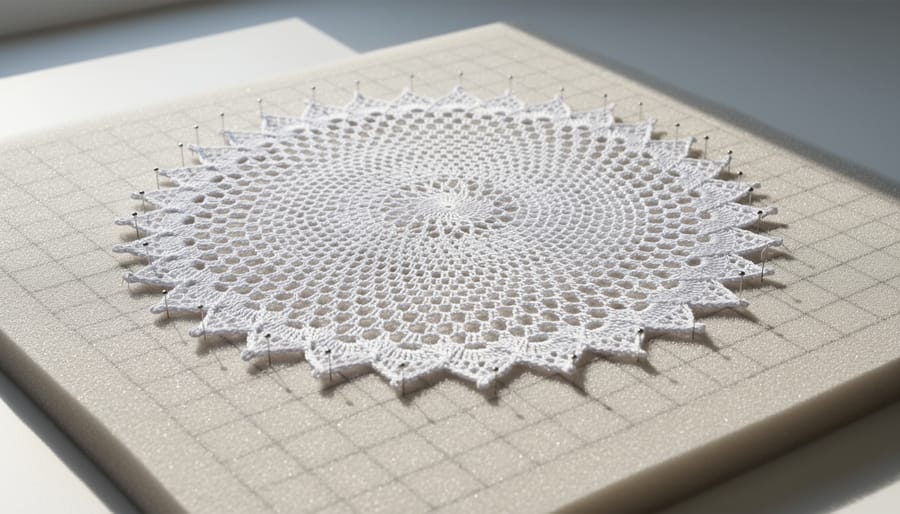
Start by dampening the doily in cool water, then gently press out the extra moisture in a towel. Lay it on a foam mat or thick towel and pin each point and picot into place, working opposite sides so the shape stays balanced. If you want a stiff snowflake or star, brush on fabric stiffener or starch now, following the label and keeping your surface protected. Then walk away and let it dry completely. Unpin too early and the edges will curl right back.
Next, give it an honest once-over. Does it lie flat without cupping? Does it measure close to the finished size in your pattern? Are the points and picots even, and are all the ends tucked away?
Happy with the result? Try a larger design, or stitch a few more in the same thread for a matching set. When you’re ready for fresh inspiration, browse doily patterns and pick your next project.
Creative Ways to Use and Gift Your Christmas Doilies
Once you’ve finished a few pieces, the fun really starts, because a doily can do far more than sit under a vase. If you’re hunting for free crochet doilies to stitch up in bulk, these ideas will help you use every one.
- Tree ornaments: stiffen small snowflakes and add a ribbon loop for hanging.
- Table centerpieces: layer a large doily under a candle holder or bowl of ornaments.
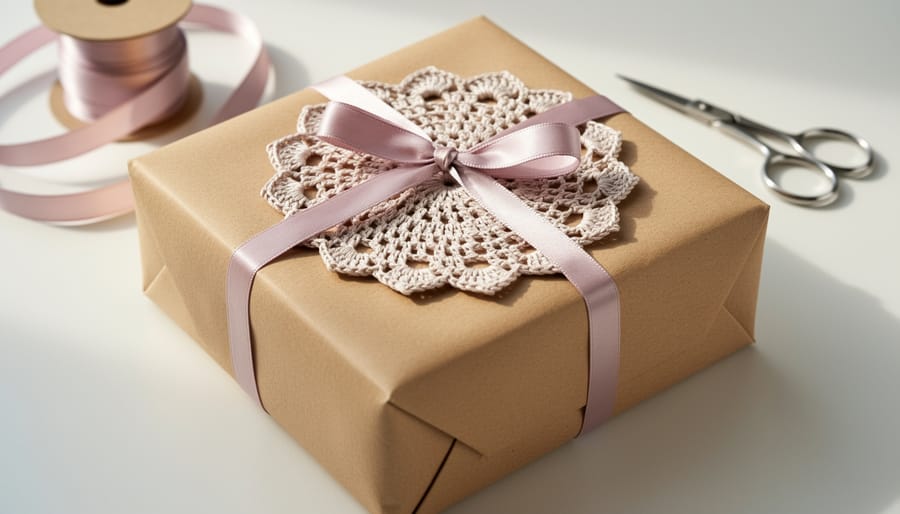
- Gift toppers: tie a small star doily onto a wrapped box with twine.
- Window hangings: attach clear fishing line so snowflakes seem to float in the glass.
- Garlands: string several mini doilies along ribbon for a mantel or shelf.
- Coasters: use cotton doilies that are lightly starched so they hold their shape.
- Gift sets: bundle three matching doilies with a tag and tissue paper.
To keep them crisp from year to year, make sure each piece is fully dry before storing it. Layer the doilies flat between sheets of acid-free tissue paper in a sturdy box, and keep that box somewhere cool and dry. Avoid plastic bags, since trapped moisture can soften the starch.
Frequently Asked Questions About Free Christmas Doily Patterns
Can beginners crochet doilies?
Absolutely. Start with a small snowflake or star that uses chains, single crochet, and double crochet, and you’ll build confidence fast.
What thread is best for Christmas doilies?
Size 10 crochet cotton is a popular pick for lacy designs, but always follow the thread and hook your chosen pattern recommends.
How long does a doily take?
A small snowflake can come together in an hour or two, while larger, multi-round designs may take several evenings. Your speed and the pattern’s detail make the difference.
How do you stiffen a snowflake?
Soak the finished piece in fabric stiffener or starch, pin it into shape on a mat, and let it dry completely before unpinning.
Can I use yarn instead of thread?
Yes, but expect a bigger, softer, less lacy result. Swap in a matching hook size and work a small test swatch first so you know how the size will change.
Can I gift or sell finished doilies from free patterns?
Gifting is almost always fine, but selling is where designers differ. Check each designer’s terms of use, since some allow sales of finished items and others don’t.
Still have questions? Keep your hook moving and your curiosity going, because the best answers often come from stitching one more round. If you’re ready for more festive projects, our holiday crochet ideas are a fun place to wander next.
You’ve got the pattern ideas, the supplies, and the steps. Now the best thing you can do is pick one and start. Choose a small snowflake or star if you’re newer to thread, or a layered wreath if you’re ready for a challenge, and give yourself a quiet afternoon with a warm drink nearby.
Here’s the good news: every doily gets easier. Your tension evens out, your stitch counts become second nature, and the first time a piece lies perfectly flat after blocking, you’ll feel it. Don’t worry if the first one isn’t flawless. Hang it on the tree anyway.
When it’s done and dry, try another doily then explore our Crochet Doilies Patterns Free collection for projects that carry you well past the holidays. Happy stitching!