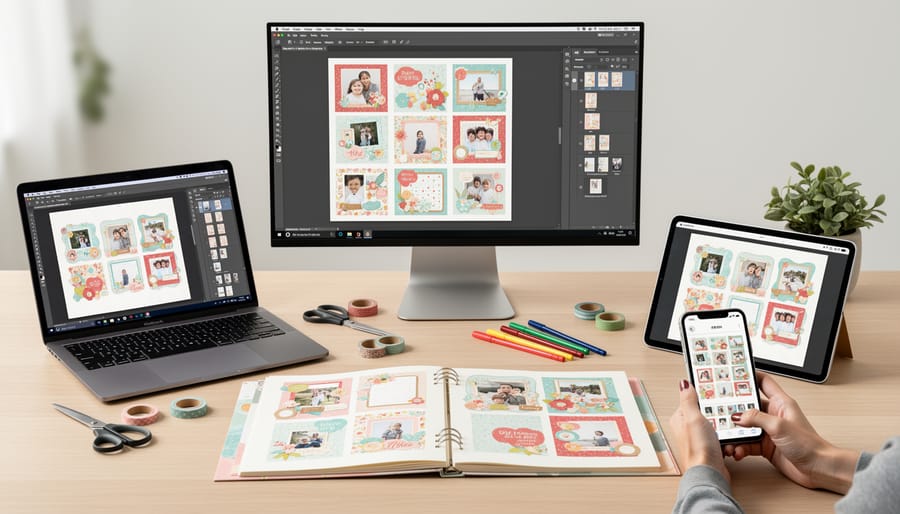
The best scrapbooking tool is the one that fits your device, your comfort level, and the way you plan to share your finished pages. That’s the whole decision, and it’s easier than the endless feature lists make it look.
Digital scrapbooking tools range from simple drag-and-drop apps on your phone to full layout software on a desktop with layers, custom fonts, and print-ready exports. A beginner making a quick birthday page doesn’t need the same thing as someone building a 40-page photo book for grandparents. Picking wrong costs you hours, and sometimes a subscription you’ll forget to cancel.
In this guide, I’ll walk you through what matters most when choosing, compare the main types of tools side by side, and point you toward a good fit based on how you like to create. You’ll also see the common mistakes that trip up new digital scrapbookers, so you can skip them. Set aside about ten minutes, and you’ll leave knowing exactly what to try first.
What Digital Scrapbooking Tools Actually Do (and Who They’re For)
Think of a digital scrapbooking tool as a blank, never-ending craft table that lives on your screen. It’s software or an app where you arrange photos, patterned papers, stickers, and journaling on a virtual page, then save or print the finished layout. No glue, no scissors, and no mess to clean up afterward.
The appeal is wide. Hybrid crafters love mixing printed digital elements with real paper, and if that’s you, our hybrid crafting tips pair nicely with this guide. If your craft space is a corner of the kitchen table, digital pages take up zero room. Fussy about placement? You get unlimited do-overs, so you can nudge a photo a dozen times without wasting a single sheet of cardstock. And sharing is easy, whether you’re sending a page to Grandma or building a family photo book.
A few terms you’ll bump into early:
– Layers: Stacked pieces of a page, like papers on top of each other, so you can move one item without disturbing the rest.
– Templates: Pre-arranged page layouts where you simply drop in your photos.
– Kits: Themed bundles of papers, stickers, and embellishments designed to match.
– DPI: Dots per inch, a measure of image sharpness. Higher numbers print crisper.
Don’t let the vocabulary intimidate you. Once you’ve made your first page, these ideas click into place quickly.
Key Buying Factors: What to Look for Before You Commit
Ease of Use and Learning Curve
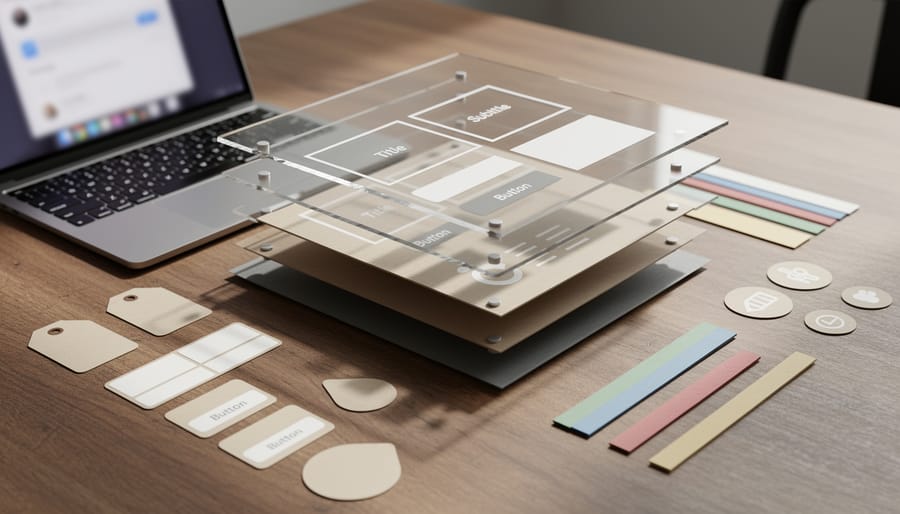
When you’re starting out, ease of use matters more than almost any other factor. Drag-and-drop tools let you pop a photo onto a page, resize it, and add a sticker in minutes. Layer-based editing gives you far more control over placement, shadows, and blending, but it takes patience to learn.
Most beginners do best starting simple. You’ll finish pages faster, which keeps you motivated, and you can always move up to a more powerful tool once you know what you actually want to do. Many crafters end up using both.
Before you commit, look for built-in tutorials and ready-made templates. A good template shows you how a balanced layout works, and a short walkthrough can save you hours of fumbling around. Ask yourself: could I finish one page in my first sitting without getting frustrated? If the answer is yes, you’ve likely found a comfortable starting point.
Device and Platform Compatibility
Your scrapbooking tool needs to run well on the device you actually own, so start there. Desktop programs tend to give you the most room to work, with bigger screens, precise mouse control, and more power for heavy layered pages. Tablets are a sweet spot for many crafters, especially if you like drawing, nudging elements by touch, or scrapping from the couch. Phone apps are great for quick pages on the go, though the small screen can feel cramped for detailed work. Browser-based tools skip installation entirely, which is handy if you switch between computers, but you’ll need a steady internet connection.
Check operating system support before you commit, since some tools favor Windows, macOS, iOS, or Android over others. Then ask whether your projects sync across devices. Starting a page on your phone and finishing it on a laptop is a real convenience if the tool supports it.
Expert tip: always try the free version or trial on your own device first. A tool that looks wonderful in screenshots can feel sluggish or awkward in your hands.
Supplies, Kits, and File Support
Some tools ship with a built-in library of papers, stickers, and embellishments, which is wonderful when you’re just starting out. You open the app, grab a pattern, and you’re scrapping in minutes. Others lean on importing third-party digital kits, so you can build a stash of your own over time. If you already love hunting for pretty scrapbooking paper and elements, a tool that welcomes outside files will feel more like home.
Before you buy, check which file types it supports. For photos, look for JPG and PNG. For elements, PNG with transparency matters most, since it lets stickers sit cleanly over a page. Some tools also read PSD or other layered formats.
Here’s a quick test I like: download one free kit you already own, then try importing it into the free version or trial. If the papers and elements load without fuss, you’re good to go.
Pricing, Printing, and Export Options
Cost is where a lot of people get surprised, so let’s break down the three common models. Free tools cost nothing but often add watermarks, limit your page count, or cap export quality. One-time purchases are predictable, though upgrades sometimes cost extra down the road. Subscriptions usually give you the most kits and updates, but you only keep access while you keep paying.
Because pricing changes often, check each provider’s official site for current numbers instead of trusting an old review (including this one!).
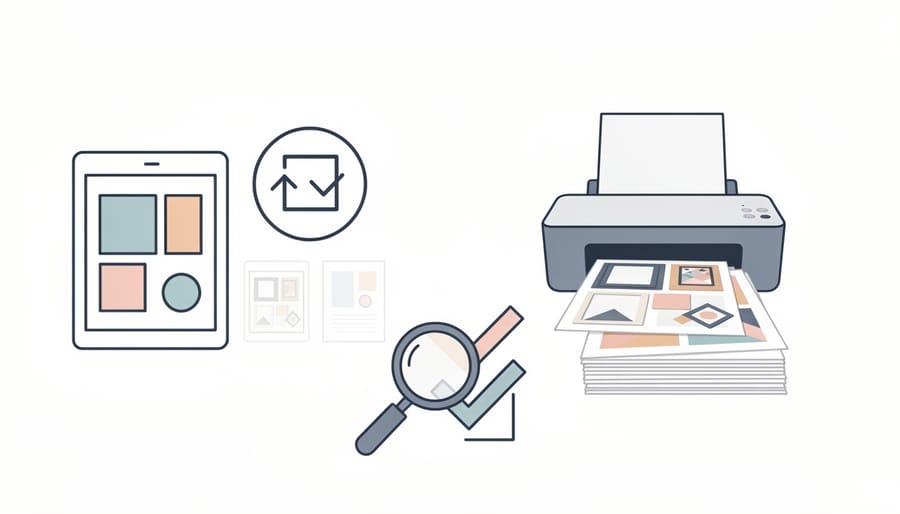
Output matters just as much as price. A page that looks great on screen can turn out soft or pixelated on paper if the export resolution is too low. Before you commit, ask yourself:
- Does the free version stamp a watermark on my exported pages?
- What resolution can I export at, and is it high enough for printing?
- Can I print at home, or does it work with a print service or partner?
- How do I cancel a subscription, and what happens to my projects afterward?
Expert tip: do one test export of a single page and print it before you buy anything. Holding a real print in your hands tells you more about quality than any spec sheet. If you’re planning to print layouts at home, a good-quality export at the right size will save you a lot of frustration later.
Types of Digital Scrapbooking Tools Compared
Not every scrapbooking tool is built the same way, and the category you pick shapes your whole experience. Here’s how the five main types stack up.
Full-featured photo-editing software gives you layers, masks, and fine control over every element. It’s great if you love detail and already know your way around an editor, but the learning curve is steep, and it isn’t built around scrapbook pages, so you’ll set up your own page sizes and guides.
Dedicated digital scrapbooking programs are made for exactly this craft. They come with page templates, easy kit importing, and tools like journaling boxes and drop shadows that mimic real paper layering. The trade-off is that they’re often tied to a desktop, and each has its own quirks to learn. If you’re brand new, it’s smart to start simple with a program that has built-in tutorials before moving on to something more powerful.
Mobile and tablet apps are perfect for crafting on the couch or while traveling. Touch-friendly drag-and-drop makes quick layouts a breeze. Screen size can feel cramped for detailed work, though, and export options vary quite a bit between apps.
Browser-based design platforms need no installation and often sync across devices, which makes them handy if you switch between a laptop and a tablet. They tend to rely on an internet connection, and free tiers may limit exports or add watermarks, so check before you commit.
Automated photo-book builders do most of the layout work for you. Upload your pictures, pick a theme, and tweak. They’re wonderful for gifts and for people who want results fast, but you give up creative control and may be locked into one print service.
| Tool Type | Best For | Skill Level | Main Trade-Off |
|---|---|---|---|
| Photo-editing software | Detail-loving designers | Intermediate to advanced | Steep learning curve, not scrapbook-specific |
| Dedicated scrapbooking programs | Hybrid and dedicated digital scrappers | Beginner to advanced | Often desktop-only, program-specific quirks |
| Mobile and tablet apps | On-the-go crafters | Beginner | Small screen, varying export quality |
| Browser-based platforms | Multi-device users | Beginner to intermediate | Needs internet, free-tier limits |
| Photo-book builders | Gift makers who want speed | Beginner | Less creative control, print-service lock-in |
Keep in mind that cost models differ widely, from free to one-time purchase to subscription, so always confirm current pricing on each provider’s official site before you decide.
Recommendations: Matching the Right Tool to Your Crafting Style
Every crafter works a little differently, so the best pick really comes down to who you are at the craft table. Here’s how I’d match tools to common crafting styles, in plain terms you can use right away.
- If you’re a brand-new beginner, look for drag-and-drop simplicity, built-in templates, and friendly tutorials.
- If you’re a paper scrapper going hybrid, look for easy photo editing, a strong print export, and support for the digital kits you already own.
- If you’re an on-the-go phone crafter, look for a mobile app that saves your work and syncs across your devices.
- If you’re a detail-loving designer, look for layer-based editing, precise control over placement, and flexible file support.
- If you’re a photo-book gift maker, look for automated layouts, quality print ordering, and a simple way to preview every page.
Think of these pairings as starting points, not rules. Plenty of people blend two profiles, like a beginner who also wants to print gifts, and that’s perfectly fine. Pick the profile that matches what you’ll do most often, then check the tool’s official site to confirm its current features, since apps and programs update all the time.
If you’re just getting started with the hobby itself, it helps to line up your physical basics too. Our rundown of supplies for beginners is a handy companion for hybrid crafters who print their pages and mix in paper, and our paper cutters guide covers trimming your printed pages and embellishments cleanly.
Expert tip: Before you commit, test two options with the exact same set of photos. Choose a handful of pictures with different challenges, such as a busy group shot, a dark indoor photo, and a simple portrait, then build one quick page in each tool. Notice which one feels natural, how the finished page looks on screen, and how easily it exports. Using identical photos makes the differences obvious, and you’ll learn more in twenty minutes than from any feature list.
Common Mistakes to Avoid When Choosing a Scrapbooking Tool
Even seasoned scrappers stumble here, so don’t feel bad if one of these sounds familiar. Each one is easy to fix once you spot it.
Buying on feature count alone. A long feature list looks impressive, but you’ll only use a fraction of it. Fix: write down the three things you actually do on a page, like layering photos, adding journaling, and placing stickers, and judge every tool against that short list.
Ignoring print resolution. A page that looks sharp on screen can turn soft and grainy on paper. Fix: before you commit, check that the tool exports at print quality and test it with one page you can order or print at home.
Locking yourself into a hard-to-export format. Some tools keep your work in a format only they can open, which makes switching later painful. Fix: look for options that export to common formats like PDF, JPG, or PNG, and try an export during your trial.
Skipping the free trial. It’s tempting to buy because the demo video looked smooth, but your own photos and device may behave differently. Fix: use the free version or trial with the same set of favorite photos in every tool you’re considering.
Not backing up projects. Pages stored in one app or only on one device can vanish with a crash, a lost phone, or an expired plan. Fix: keep a second copy in cloud storage or on an external drive, and set a monthly reminder so it becomes a habit.
Overlooking storage for large photo files. High-resolution photos and layered projects add up fast, and a full device slows everything down. Fix: check how much space your projects will need, clear out duplicates, and decide early where your finished pages will live long term.
A little planning now saves you from redoing hours of creative work later.
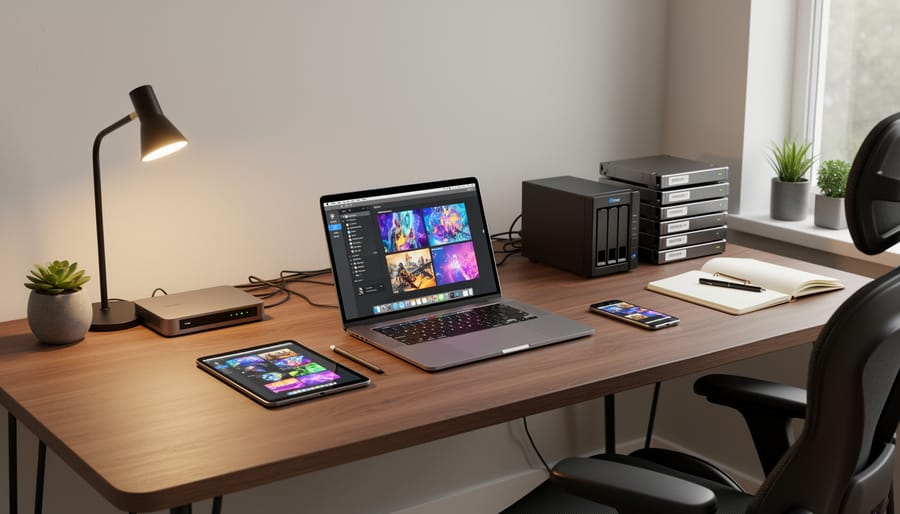
Frequently Asked Questions About Digital Scrapbooking Tools
Still have a few questions before you pick a tool? These are the ones beginners ask most often.
Can I mix digital and paper scrapbooking?
Absolutely, and plenty of crafters do. Many people design a page digitally, print it, and then add stickers, washi tape, or handwritten journaling by hand for a hybrid look.
Do I need a tablet or stylus?
No, a computer with a mouse works fine for most tools. A tablet and stylus can feel more natural if you like to draw or hand-letter, but they’re a nice extra rather than a requirement.
Are free tools good enough to start?
For learning the basics, yes. Free versions are great for testing layouts and getting comfortable, though they sometimes add watermarks or limit exports, so check what’s included before you build a project you want to print.
How do I print my digital pages?
Export your finished page at a high resolution (300 DPI is a common target for sharp prints), then print at home or send the file to a print service. Do a small test print first so you can check colors and sizing.
As for using your own photos and fonts, most tools let you import both. Look for support for common photo formats, and check whether the tool lets you install or upload custom fonts, since that varies from one program to the next.
Expert tip: keep a folder of your favorite fonts and a few go-to photos so you can quickly test any tool with the same materials. It’s the fastest way to see whether a program feels right for you.
Choosing a scrapbooking tool really comes down to three simple questions: what device will you use, how comfortable are you with editing, and where will your finished pages end up? Answer those honestly, and you’ll narrow the field fast.
Here’s my favorite way to take the next step. Pick one photo set you truly love, maybe a family trip or a birthday you can’t stop smiling about. Then open a free version or trial of a tool that fits your answers and build a single page. Don’t aim for perfect. You’re just seeing how it feels in your hands.
If it feels fun, you’ve found a good match. If it feels frustrating, that’s useful information too, and you can try the next one on your list.
Whatever you choose, you’re already doing the hard part: making your memories matter. Keep exploring the tutorials here at Time To Scrap for fresh ideas, techniques, and plenty of encouragement along the way. Happy scrapping!