Transform ordinary review sessions into interactive learning adventures with these DIY craft review games! Create your own jeopardy powerpoint template using colorful cardstock, markers, and engaging questions tailored to your subject matter. Design a giant board game on poster board, featuring trivia challenges and hands-on activities that reinforce key concepts. Craft a set of memory match cards with important terms, definitions, and illustrations to make fact recall fun and tactile. Unleash your creativity and watch as your students eagerly engage with the material through these captivating, handcrafted games that bring learning to life!
Jeopardy-Style Trivia Boards

Materials Needed
To create your DIY craft review game board, gather the following supplies: a sturdy cardboard or foam board for the base, various patterned scrapbook papers or colorful construction paper to cover the board and make game cards, scissors, a glue stick or double-sided tape, markers for writing questions and answers, and any embellishments you’d like to add, such as stickers, washi tape, or ribbon. Feel free to get creative with your craft materials and personalize your game board to suit your style and the theme of your review questions. With these basic supplies, you’ll be ready to craft a unique and engaging review game that makes learning fun!
Assembly Instructions
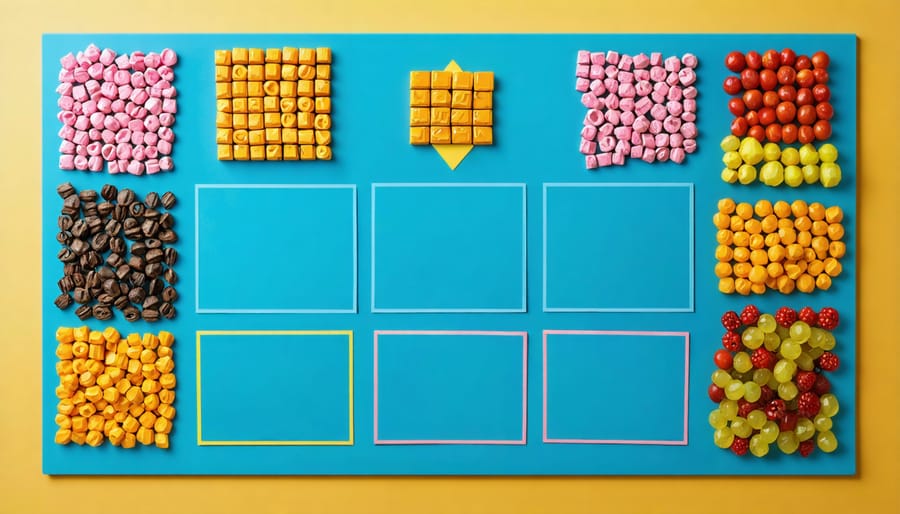
To construct your own trivia board, start by gathering supplies like cardboard, colored paper, markers, scissors, and glue. Cut a large square or rectangle from the cardboard to serve as the base. Next, decide on the number of categories and questions for your game. Cut colored paper into strips and label each with a category name, such as history, science, or entertainment. Arrange the category strips along the top of the cardboard, evenly spaced. Below each category, create a column of numbered squares or circles, one for each question. You can draw these directly on the cardboard or cut them from colored paper and glue them down. Write point values on each square, with higher numbers for more challenging questions. To add visual interest, decorate the board with stickers, washi tape, or hand-drawn designs. Finally, prepare question cards for each category and point value. Write the questions on one side and the answers on the back. Sort the cards by category and store them in labeled envelopes or small boxes. With your handcrafted trivia board complete, you’re ready to host an engaging and interactive review session that will make learning fun for everyone involved.

DIY Game Show Wheel
Designing the Wheel
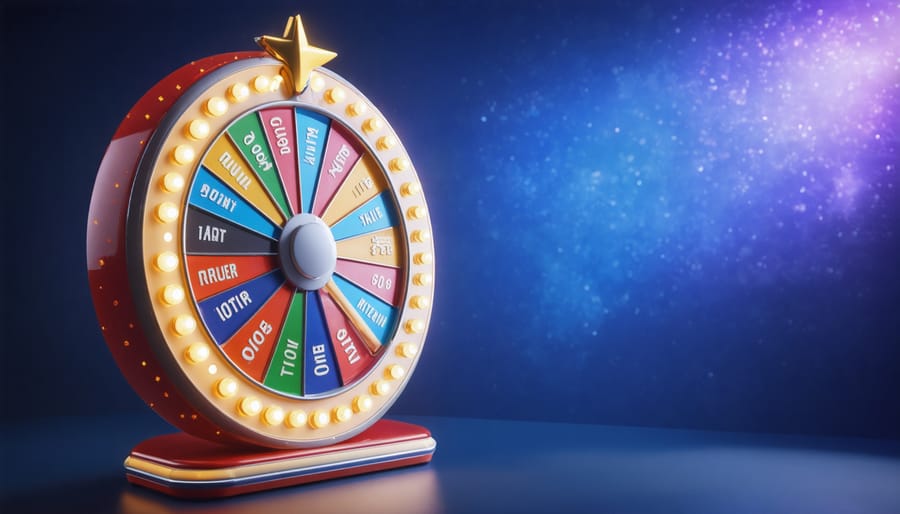
When designing your wheel, consider the categories you want to include based on the subject or theme of your review game. Divide the wheel into equal sections, assigning each one a specific category. You can use a pencil and ruler to lightly draw the sections before finalizing them with a marker. Get creative with decorating the wheel! Use colorful markers, stickers, or washi tape to make each section visually distinct and appealing. You can also add illustrations or cutouts related to the categories for a fun touch. Remember to leave space in the center of the wheel to attach the spinning arrow. A small circle cut from cardboard or a bottle cap can serve as the base for the arrow. Personalize your wheel with a title or decorative border to make it uniquely yours. Have fun and let your creativity shine!
Mounting and Spinning Mechanism
To mount the wheel, you’ll need a sturdy base like a wooden board or thick cardboard. Cut it slightly larger than your wheel’s diameter. Next, create a spinning mechanism by attaching a small dowel or pencil to the center of the wheel using a strong adhesive or small nails. Ensure it’s perpendicular to the wheel’s surface. Now, make a hole in the center of the base, just wide enough for the dowel to fit through snugly. Insert the dowel and secure it with glue or small screws, allowing the wheel to spin freely. For extra smoothness, consider adding a washer between the wheel and base.
Tactile Matching Games
Memory Match
To create a memory match game, start by choosing a theme, such as animals, colors, or shapes. Cut out an even number of card-sized rectangles from cardstock or thick paper. On one side of each card, draw or paste identical pictures for each pair, ensuring the designs are clear and easily recognizable. To make the cards more durable, consider laminating them or covering them with clear contact paper. Shuffle the cards and lay them face-down in a grid pattern. Players take turns flipping over two cards at a time, trying to find matching pairs. The player with the most pairs at the end wins!
Puzzle Pieces
Craft interlocking puzzle pieces for an interactive review game that’s both fun and educational. Cut out cardboard pieces in various shapes and sizes, making sure each piece has a tab that fits into a slot on another piece. On one side of each piece, write a question related to the topic you’re reviewing. On the other side, write the corresponding answer. To play, mix up the pieces and challenge participants to match the questions and answers correctly by fitting the tabs into the appropriate slots. This hands-on activity engages multiple senses, making it an effective and enjoyable way to reinforce learning.
Printable Board Games

Game Board Design
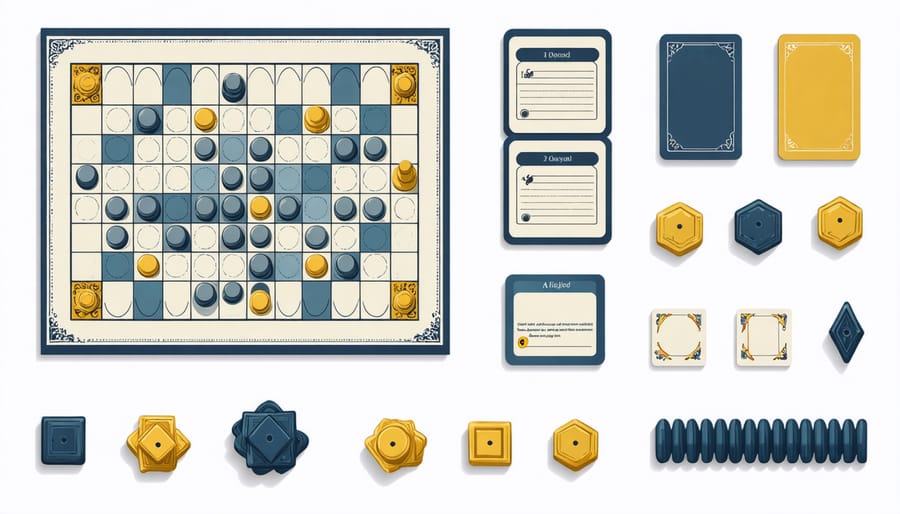
When designing your printable game board, let your creativity shine! Choose a theme that complements your review topic, such as a vibrant jungle adventure for a biology review or a whimsical storybook layout for a literature game. Sketch out your design on paper first, then use a ruler and pencil to draw the path on your chosen base material. Decorate the board with colorful markers, stickers, or cut-out images that relate to your theme. You can also add fun elements like 3D obstacles made from cardboard or paper mache. Consider incorporating question marks or other symbols along the path to denote spaces where players must answer questions or complete challenges. Don’t forget to add a start and finish line! With a little imagination and some basic craft supplies, you can create a visually appealing and engaging game board that will make your review sessions both educational and enjoyable.
Game Pieces and Cards
To create themed playing pieces, gather supplies like cardstock, markers, and scissors. Cut out shapes that match your game’s theme, such as stars for a space-themed game or apples for a teacher-appreciation game. Decorate the pieces with colorful designs or stickers. For question cards, use index cards or cardstock cut to size. Write or print questions on one side and answers on the back. Customize the questions to fit your specific review topic. Add visual interest by using different colors for each category or difficulty level. Laminating the cards will make them more durable for repeated use.
Creative Review Stations
Themed Stations
When planning your review game, choose a theme that aligns with the subject matter you’re studying. This could be anything from historical periods to scientific concepts or literary genres. Once you’ve settled on a theme, brainstorm activities that tie into it. For example, if you’re reviewing the solar system, create a game where players must match planets to their characteristics or construct a mobile of the planets using craft supplies. If you’re studying a specific book, design a scavenger hunt where players must find objects related to key plot points or characters. The possibilities are endless! To make the activities more engaging, incorporate hands-on elements like drawing, sculpting, or building whenever possible. Don’t be afraid to get creative and think outside the box – the more unique and interactive the activities, the more likely your participants will stay engaged and retain the information.
Crafted Station Elements
Crafting your own review station elements is a fantastic way to make the learning experience more engaging and memorable. For a hands-on approach, consider using modeling clay to create miniature figures or objects related to the topic. You can also design and print out custom game cards, question sheets, or even a themed game board using cardstock and craft supplies like markers, stickers, and washi tape. Another idea is to incorporate sensory elements by using different textures, such as sandpaper for rough surfaces or felt for soft ones. You can also create 3D models using paper mache or cardboard to represent key concepts or structures. Don’t be afraid to get creative and think outside the box – the more unique and interactive your station elements are, the more engaging and effective your review game will be!
Conclusion
Crafting your own DIY review games is a fantastic way to make learning more engaging and memorable. By putting your own creative spin on these activities, you can tailor them to your specific learning objectives and have fun in the process. Don’t be afraid to get creative and experiment with different materials, designs, and game mechanics. The possibilities are endless! Whether you’re an educator looking to liven up your classroom or an individual seeking a more interactive way to study, these DIY review games are sure to inspire you. So gather your supplies, let your imagination run wild, and enjoy the journey of learning through play.
